Wildlife photography on the African savanna is one of the most rewarding — and challenging — pursuits in photography. The light changes in minutes, animals move unpredictably, and the dust, heat, and vibration of a safari vehicle all conspire against the perfect shot. But with the right preparation and mindset, the images you bring home can be truly extraordinary.
Understanding Light: Your Most Powerful Tool
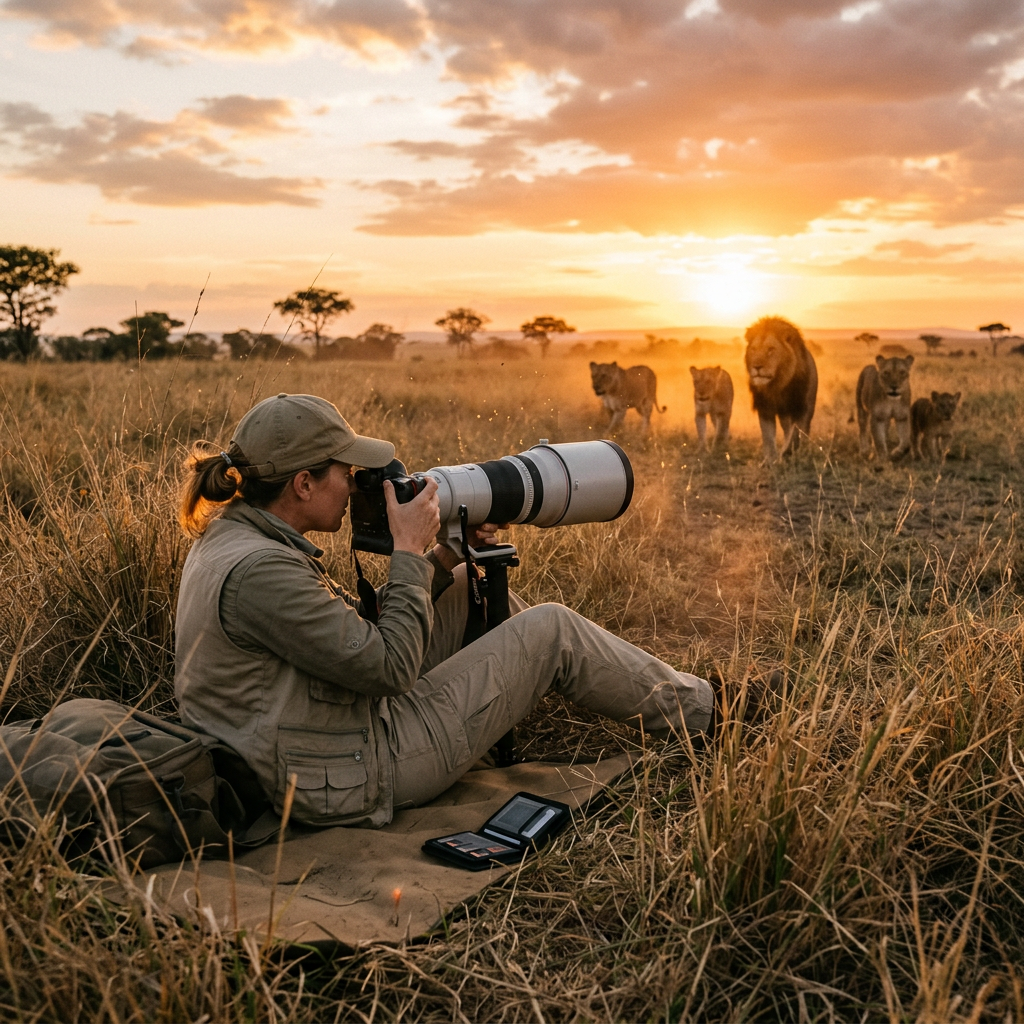
The African golden hour is unlike anything else on Earth. The hour after sunrise and the hour before sunset paint the savanna in warm amber tones that transform even an ordinary scene into something magical. Plan your game drives around this light — your guides will be doing the same. Midday light is harsh and flat; use that time to review your shots and rest.
Pro Tip: The Exposure Triangle on Safari
Use shutter priority (Tv/S) mode for moving animals. A minimum of 1/1000s will freeze most motion. Set your ISO to auto with a ceiling of 6400, and let the camera handle aperture. Review and adjust as conditions change.
Camera Settings for Every Situation
No single setting works for every moment. A lounging lion calls for a slower, more deliberate composition; a cheetah sprinting at 112 km/h demands burst mode and predictive autofocus. Modern mirrorless cameras with animal-eye tracking have been game-changers — if you're investing in new gear, this feature alone is worth the upgrade.
- Stationary subjects: f/4–f/6.3, 1/500s, ISO 400–1600
- Moving animals: Shutter Priority, 1/1000s–1/2000s, Auto ISO
- Birds in flight: 1/2500s minimum, continuous AF, burst mode
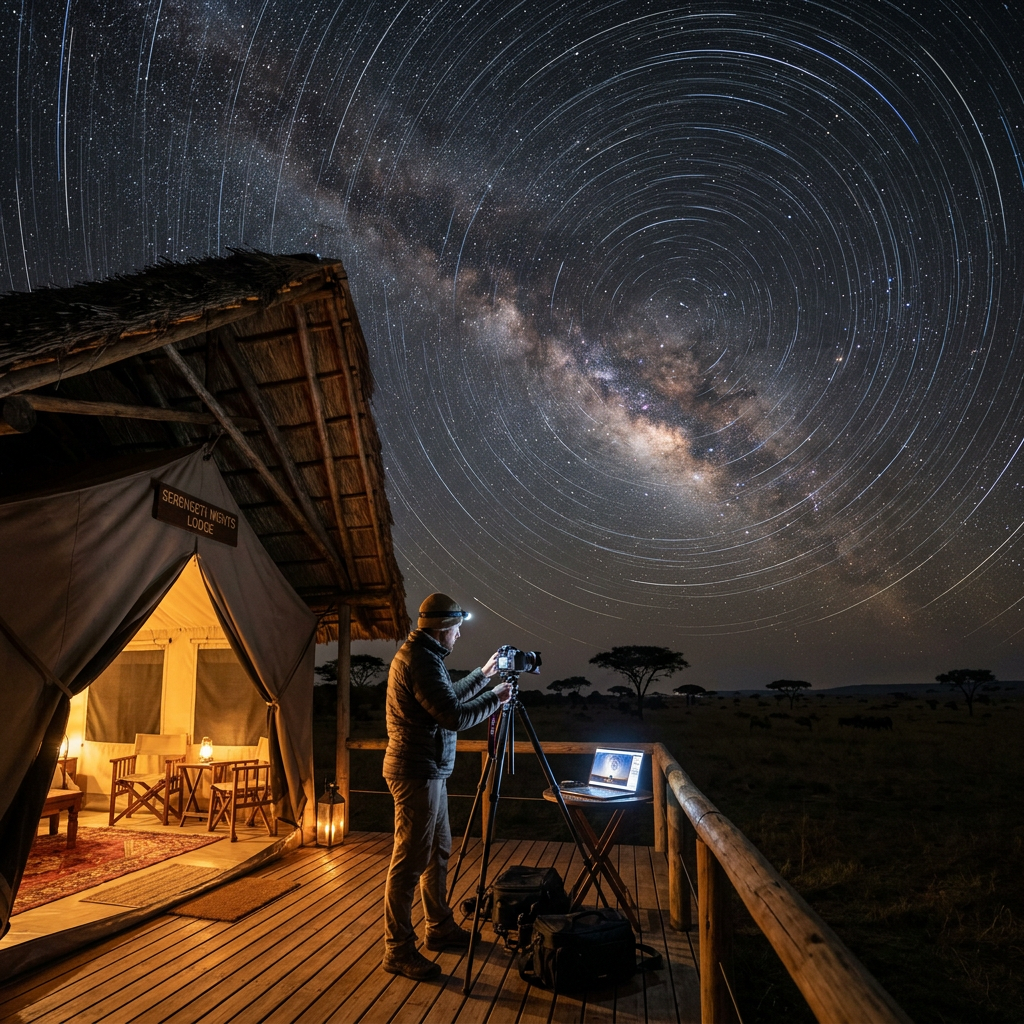
- Low-light dawn/dusk: f/2.8–f/4, raise ISO, stabilise on beanbag
- Environmental portraits: wider aperture (f/5.6–f/8) to include habitat
Positioning and Composition
Get low whenever possible. Eye-level with your subject creates intimacy and connection — it transforms a record shot into a portrait. In a safari vehicle, a beanbag rested on the window frame is worth more than any tripod. Ask your guide to position the vehicle so the sun is behind you or to your side, and never shoot directly into harsh overhead light.
Leave space in the frame in the direction the animal is looking or moving. Use the rule of thirds as a starting point, then break it intentionally when the scene calls for it. A lone acacia silhouetted against a blood-orange sky doesn't need to be centered — but sometimes it does.
Ethics First
Never pressure your guide to approach animals too closely for a better shot. Stress behaviours — ears pinned back, tail-lashing, mock charges — mean you're too close. The best wildlife photographers are the ones who wait patiently for the animal to come to them.
The Gear That Actually Matters
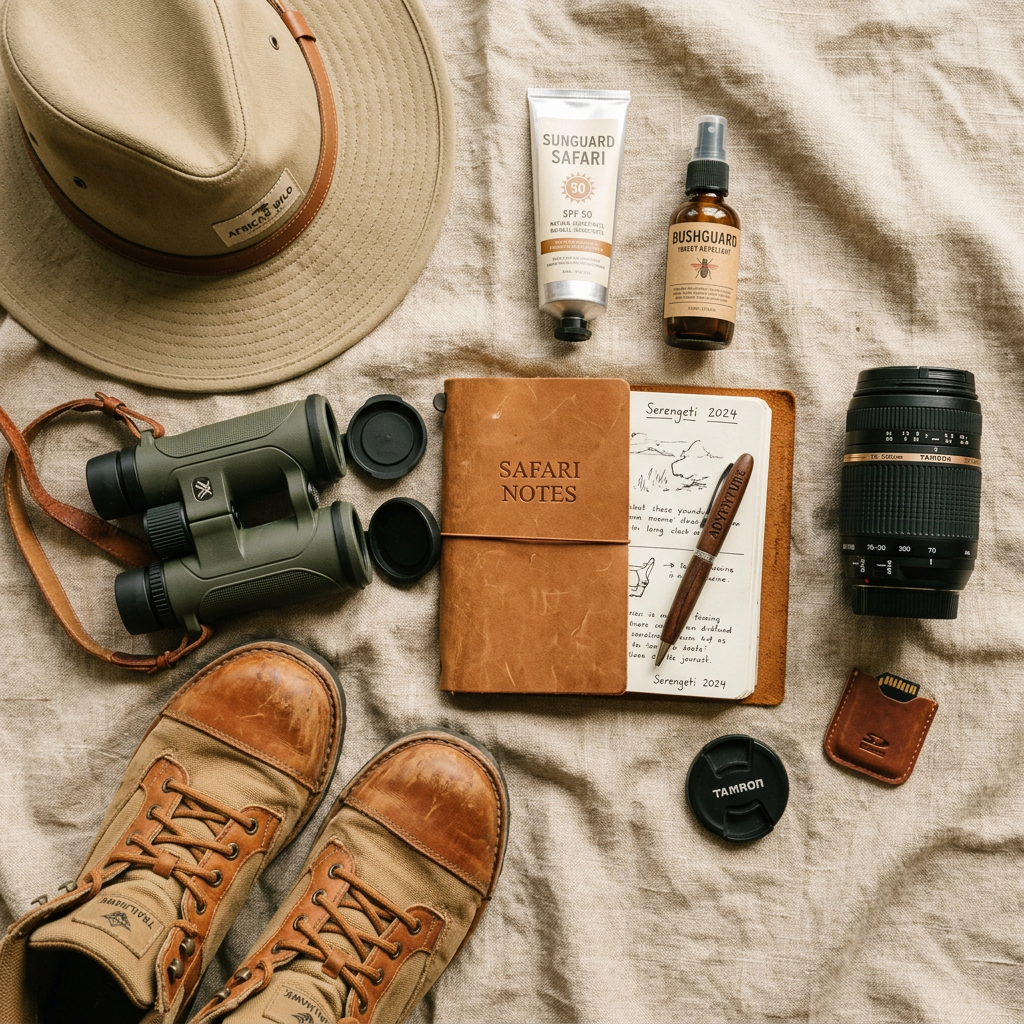
You don't need the most expensive kit to come home with stunning images. A capable APS-C body with a 100–400mm zoom lens covers 90% of safari situations beautifully. What matters more is understanding your gear so deeply that adjusting settings becomes instinct — leaving your mind free to find the frame.
- Primary lens: 100–500mm or 200–600mm zoom
- Secondary: 24–105mm for landscapes and environmental shots
- Accessories: beanbag, extra batteries (cold mornings drain them fast), lens cloths
- Storage: at least 3× 128GB cards, and back up every evening
- Protection: a rain cover is essential — afternoon storms arrive suddenly
James Okonkwo
Lead Safari Guide & Photographer
A passionate expert at Serengeti Safaris, dedicated to sharing the wonders of Africa with travellers around the world.
Ready to Experience It?
Turn These Stories into Your Own
Our specialists are ready to craft your perfect safari. No obligation — just inspiration.
Plan My Safari